It's Back!

Hooray, Smash Soda is back! ...kind of, it's bug-ridded and you have to compile it yourself, but still...huzzah!

The terms & conditions for the old SDK that Soda uses states that binaries that use the personal API for authenticating with Parsec are not allowed to be distributed...something Soda needs in order to still work. However, this doesn't mean you can't build the code yourself for personal use!

Now, it might seem like Parsec are being difficult, but it is actually their effort to protect the community. When you build from source, then Parsec knows that you consented to entering your login credentials in to Soda using the personal authentication API. It also allows you to review all the code before building...which will all look like double dutch if you don't know C++...but still, you're in control!

And so, I've provided this easy to follow guide for those that wish to build Smash Soda for their own personal use! Follow along with the guide below.

Guide

1. Start by going to this link and downloading the Community edition of Visual Studio 2022:

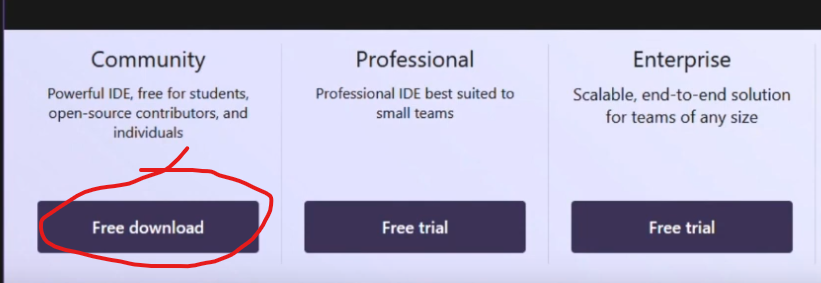
https://visualstudio.microsoft.com/downloads/
2. Launch the downloaded installer, and in the window that pops up, scroll down until you find "Desktop development with C++" and enable it. Then click "Install".
3. When prompted to sign in, click "Skip this for now" and set your colour scheme preference for the editor.
4. Select "Clone a repository" and then in the "Repository location" field enter:

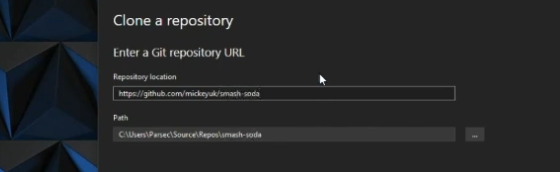
https://github.com/mickeyuk/smash-soda

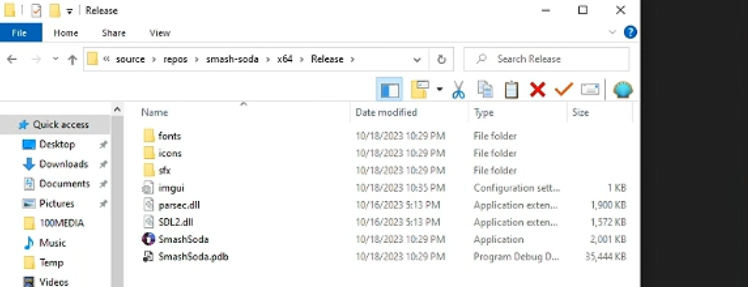
Select your preference for where you want the files downloaded to in the "Path" field. Then click "Clone".

5. In the bottom right corner of the new window, select "Git Changes", which will show the Git Changes panel. Whenever updates are made to Smash Soda, you will be able to update your files automatically by clicking the down arrow icon in the top right of the Git Changes window (will show "Pull" when you put your mouse over it).
6. In the menu bar at the top, select "View", then "Git Repository". This will show you a timeline of all the changes made to the repository that you can review yourself so that you know exactly what it is you're building and what has been added/removed.
7. When you are ready to build, below the top menu bar you should see a dropdown menu with "Debug" selected. Change this to "Release", and the dropdown next to it, set the architecture for your PC (x64 is 64 bit, x86 is 32 bit). If you are unsure, press the Windows key and the Pause Break key at the same time. In the window that pops up, it will tell you under "System Type".
8. Press CTRL + B or click the green play button. Soda should now start building (might take a while!)

If there are errors, join the Discord server here and post in this thread:
Mickey's Hub
9. The built Smash Soda will go inside the folder you save the cloned repository too, inside the "x64" folder, and then inside the "Release" folder.
10. Ensure you have the latest version of ViGEmbus (this is what Soda uses for the controller stuff!).

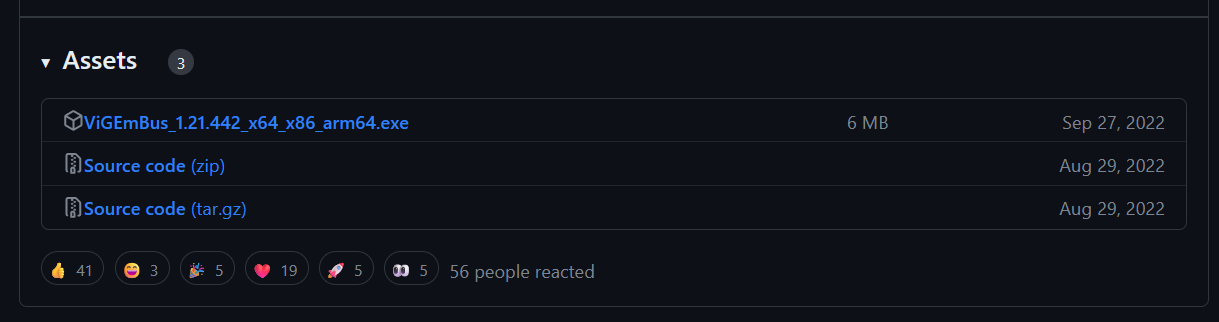
https://github.com/nefarius/ViGEmBus/releases
11. If you want to be able to use the new overlay system, then inside the root directory (where the SmashSoda.exe file is), create a new folder called "overlay".
12. Download the standalone Smash Soda overlay application from here ( the Smash-Soda-Overlay-x64-v1.0.zip file):

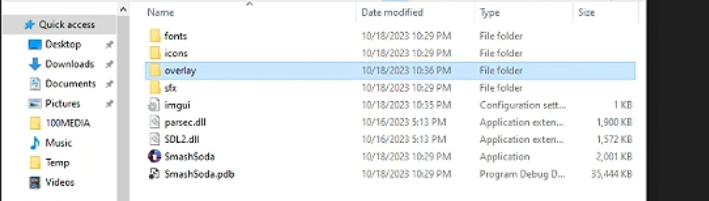
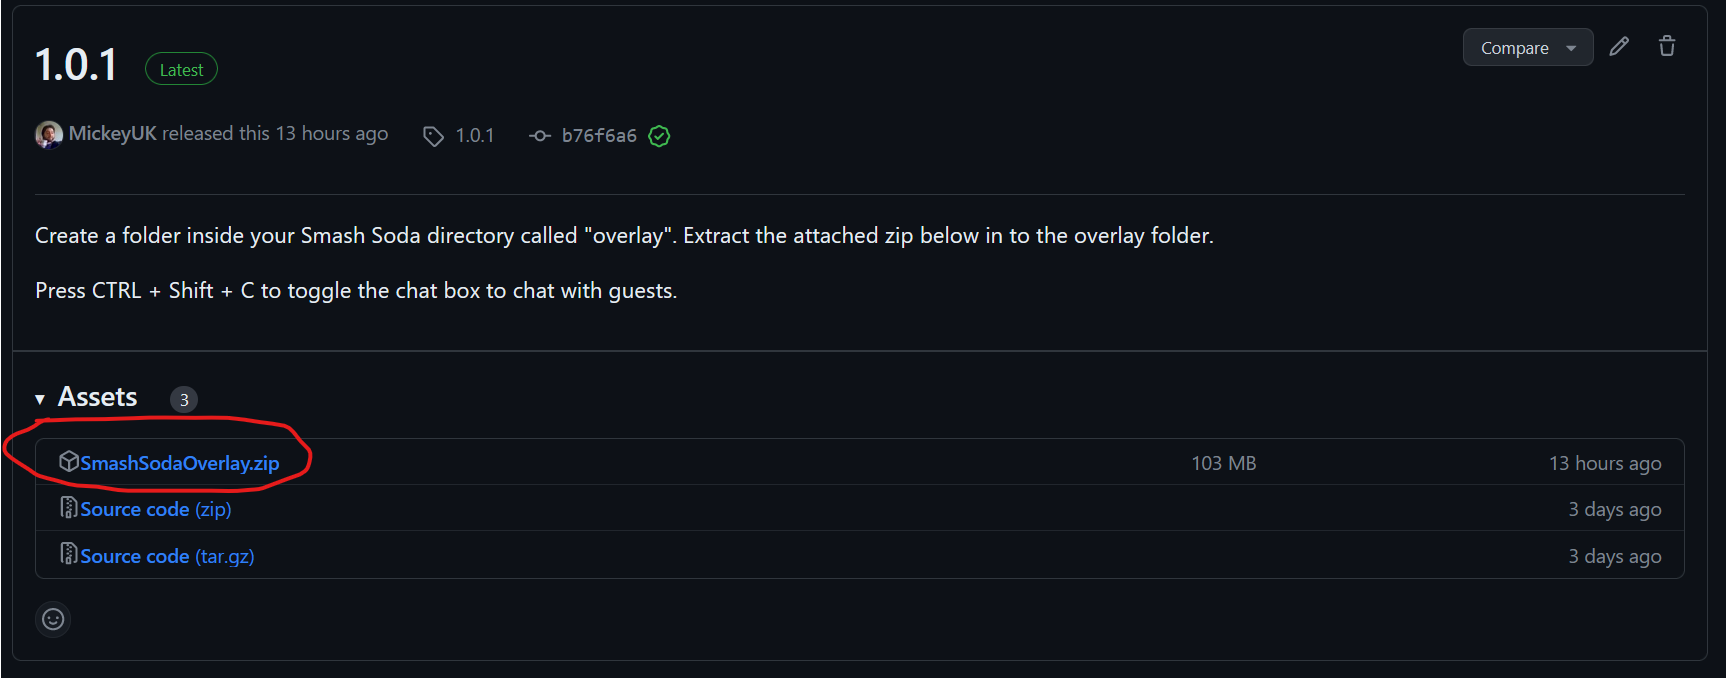
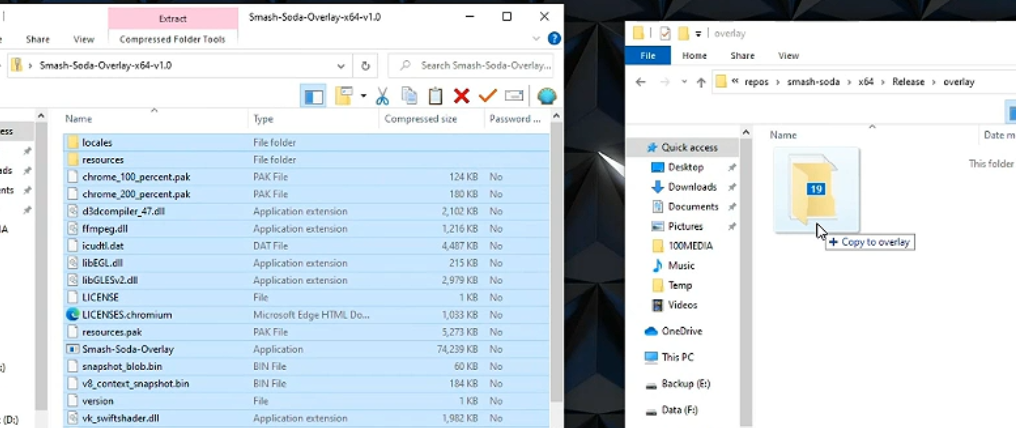
https://github.com/MickeyUK/smash-soda-overlay/releases
13. You're all set! Be sure to check the Discord server for Soda support and discussion!

Mickey's Hub